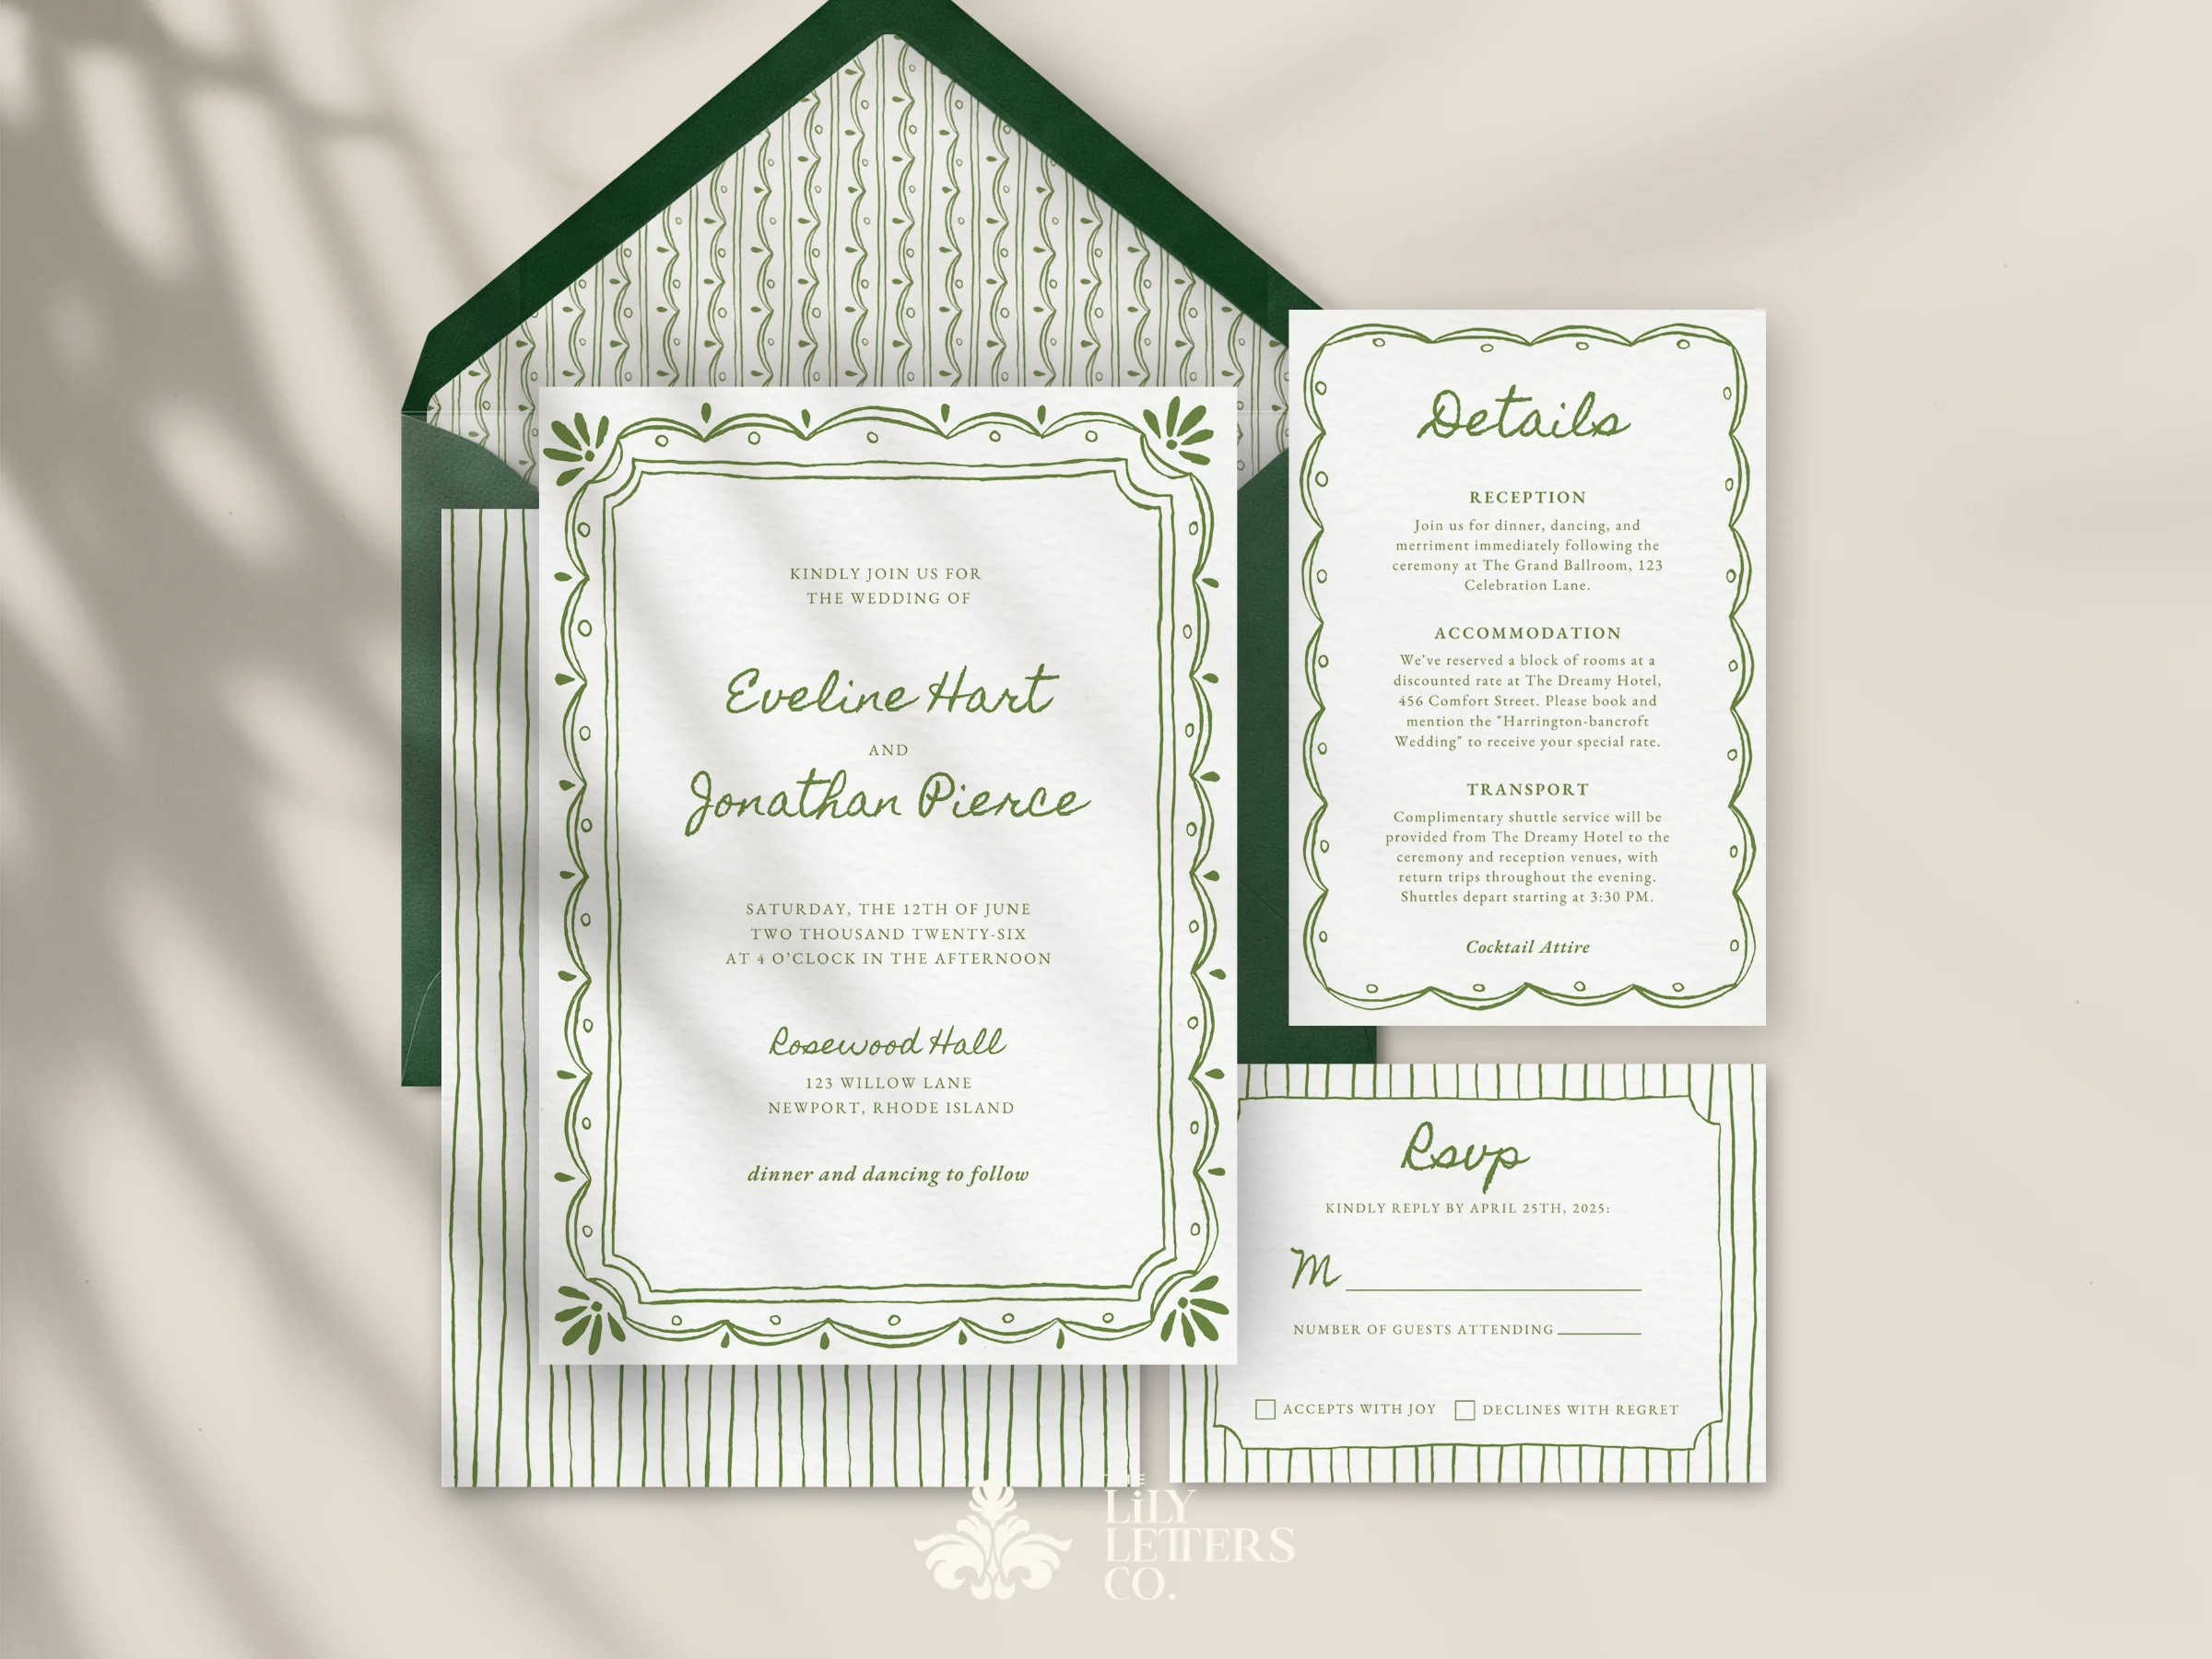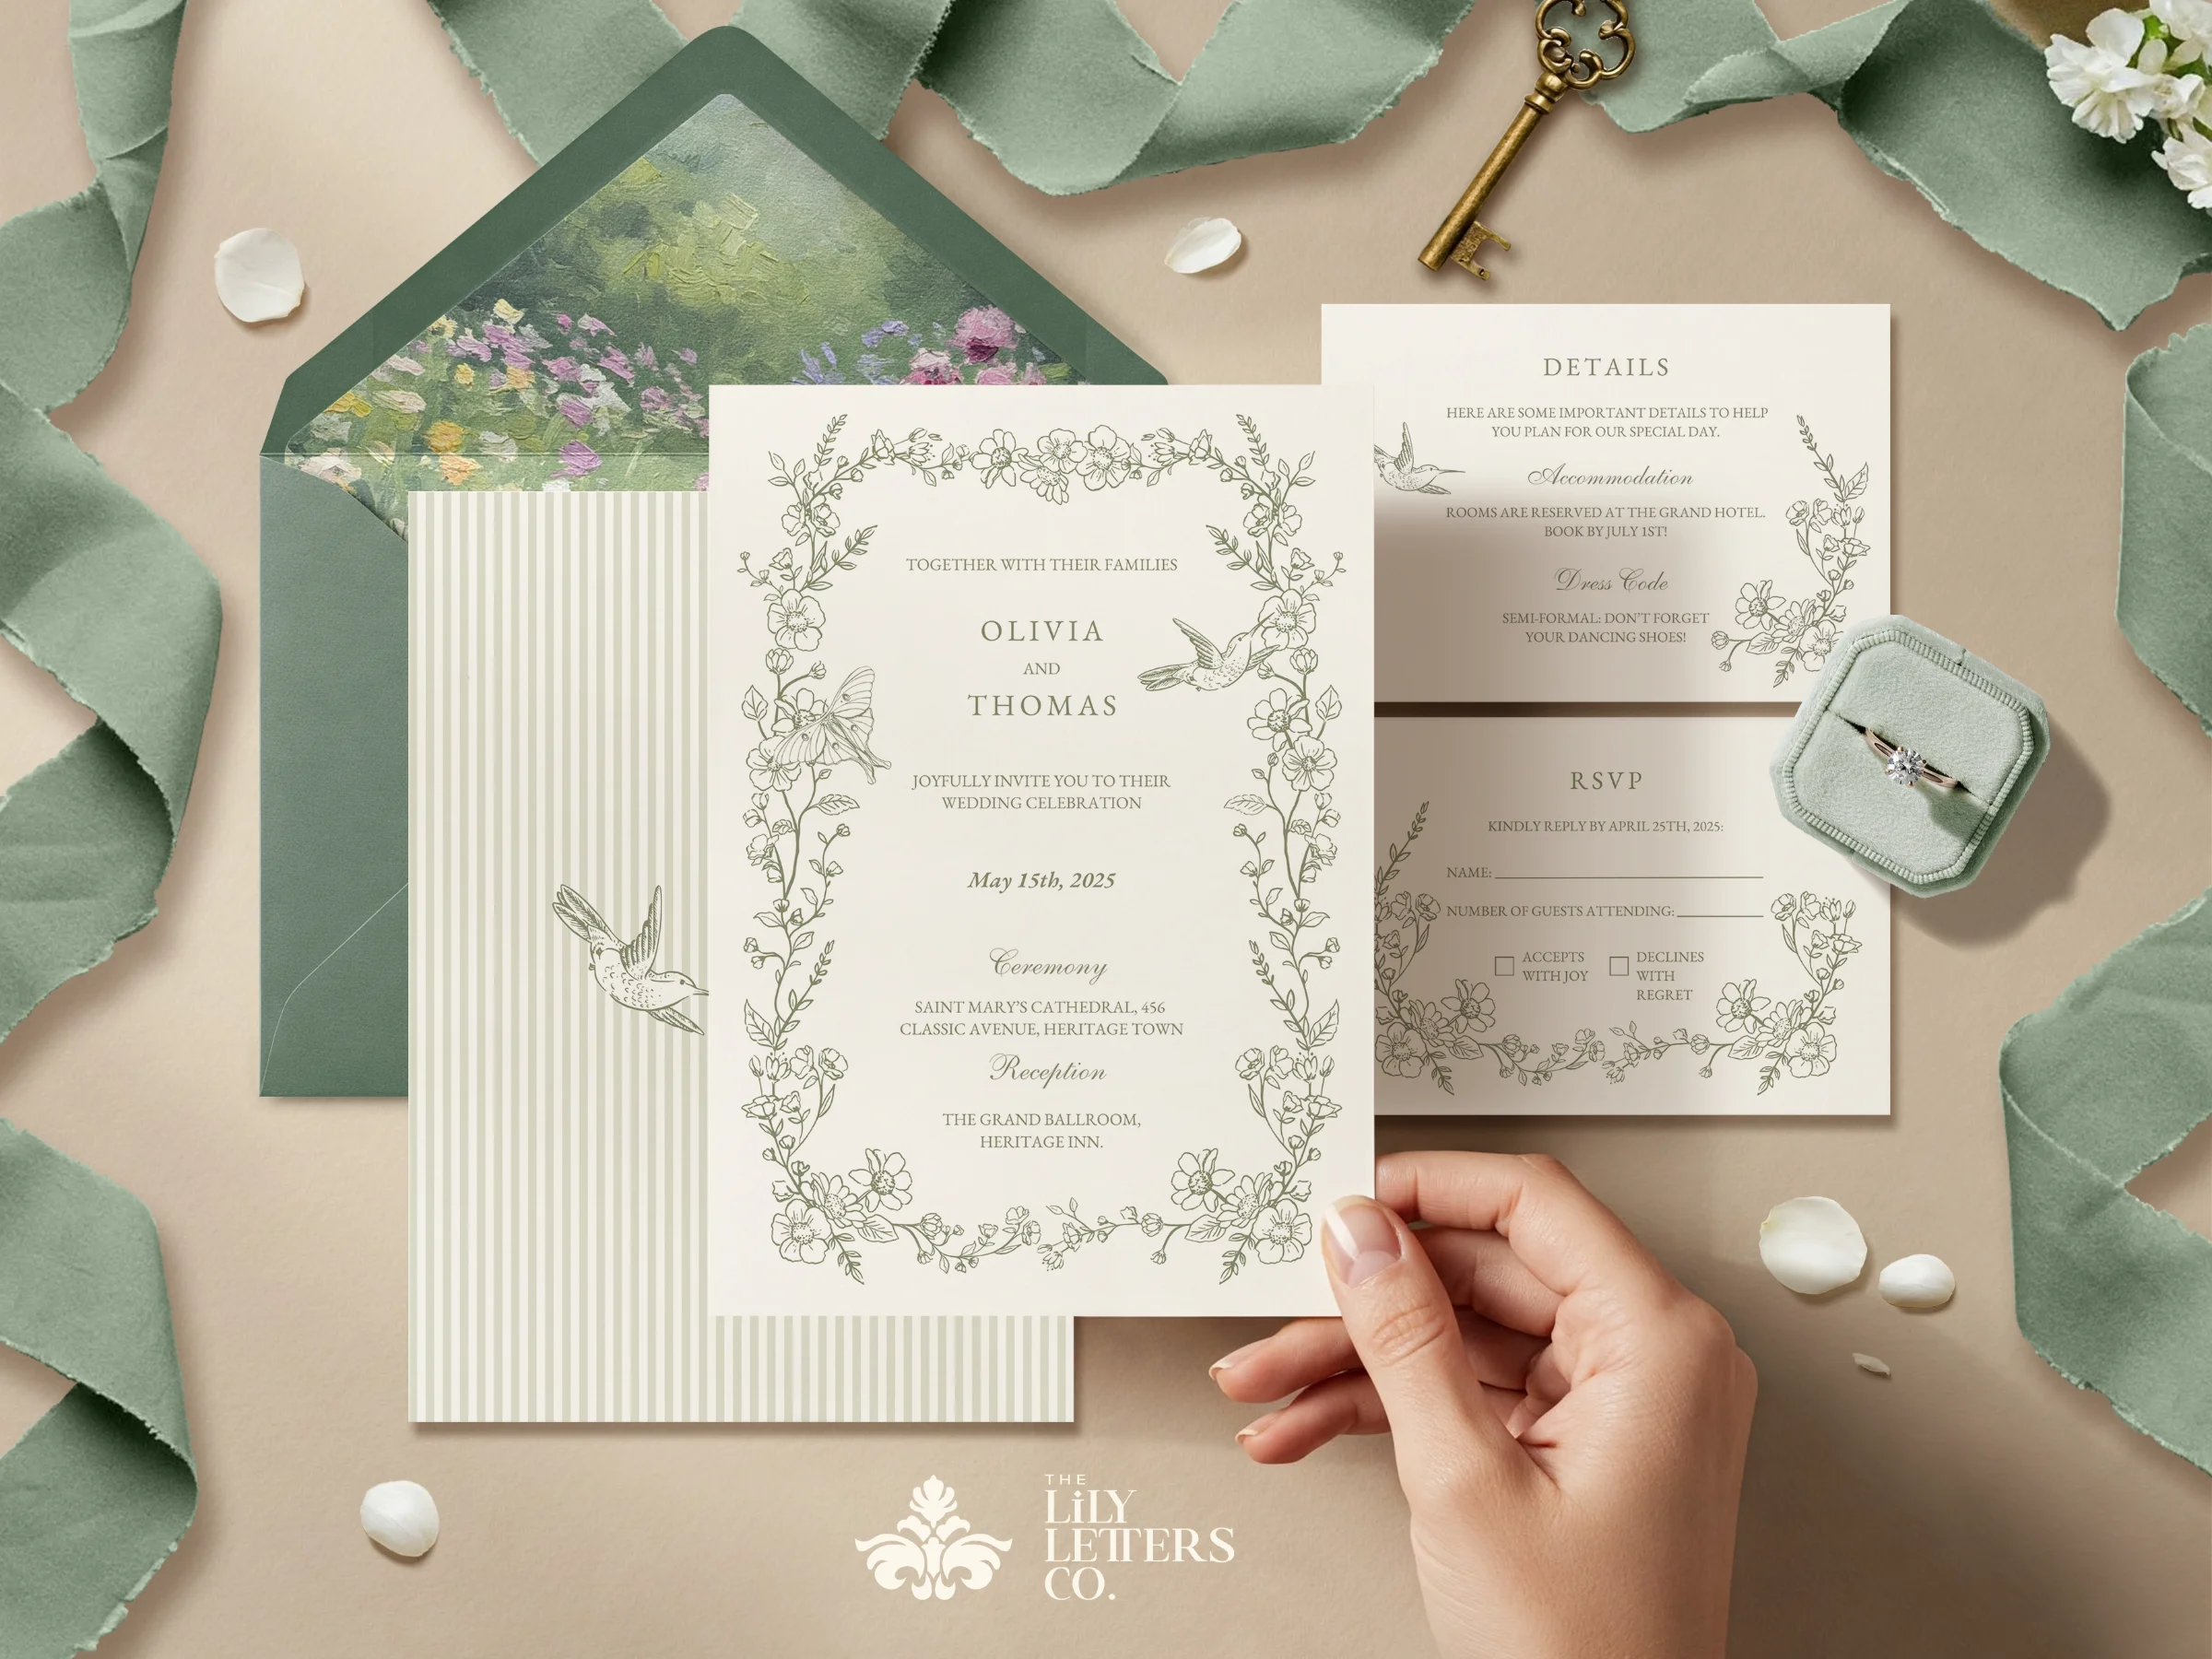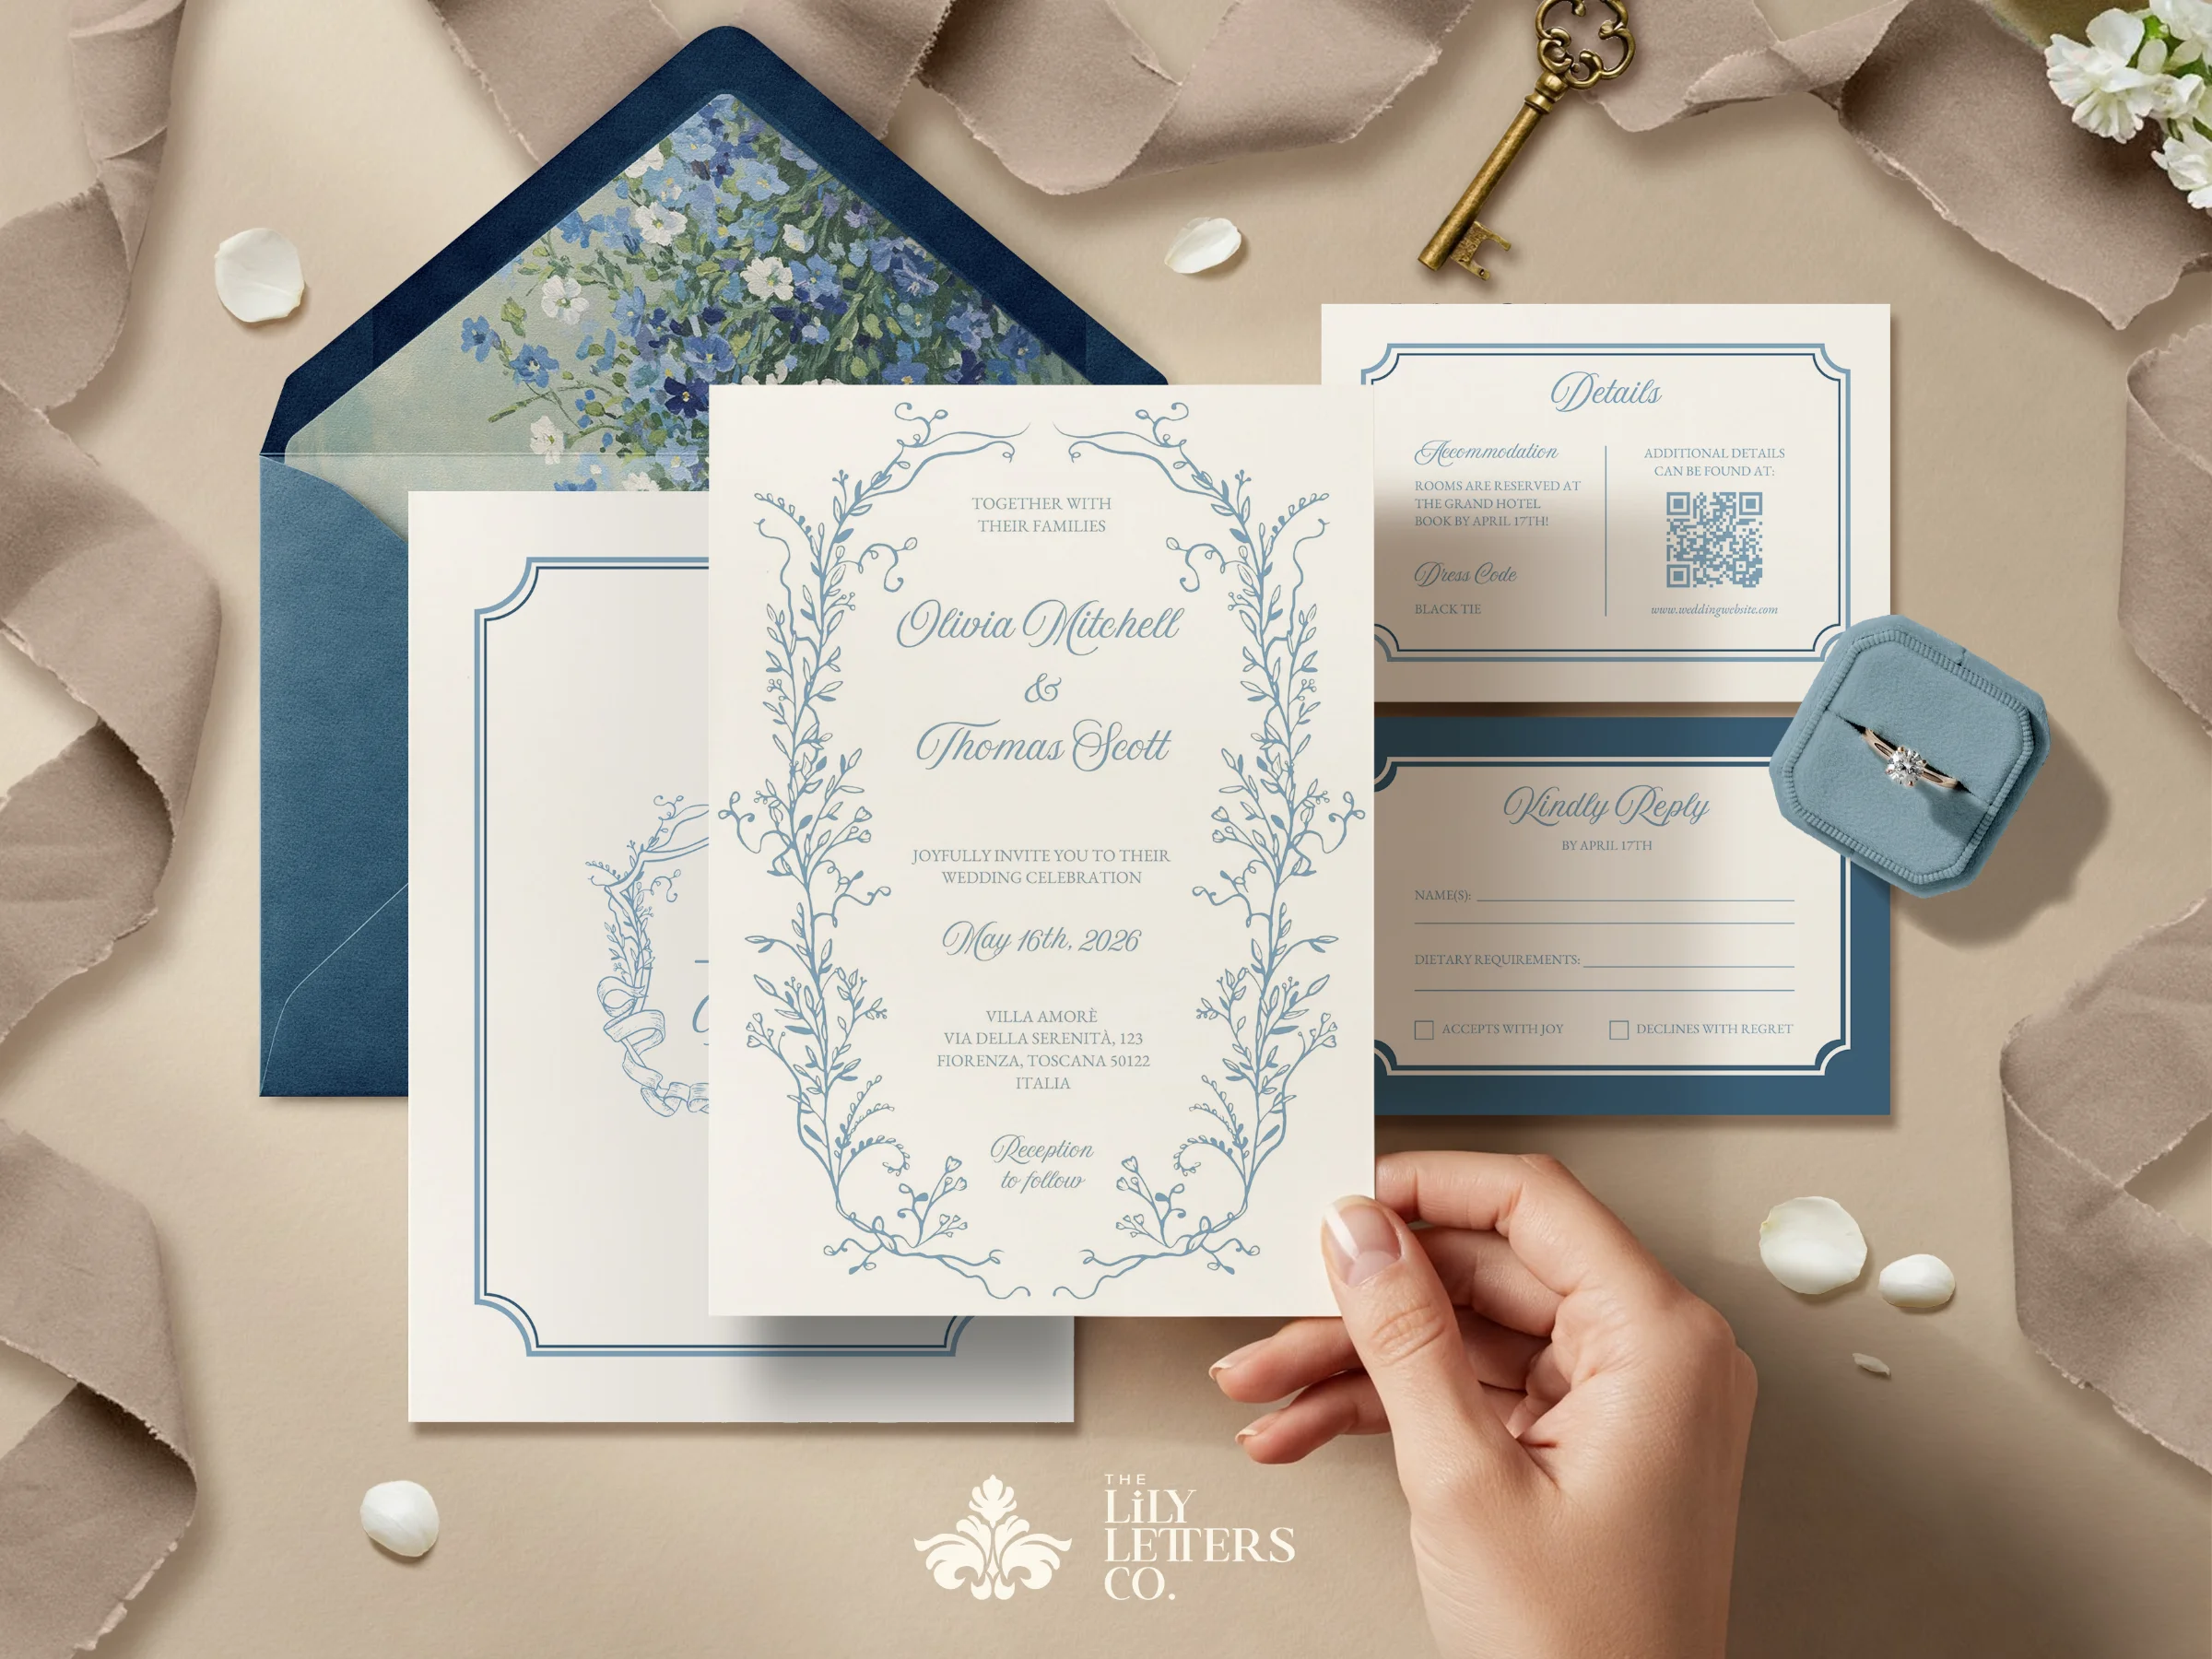
If you've been eyeing printable invitation templates but keep hesitating, it's probably not the design that's stopping you, it's the printing. What if they come out smudged? What if the color looks cheap? What if I waste $40 of cardstock figuring it out?
Here's the truth: learning how to print wedding invitations at home takes one test run and about twenty minutes. Once you know the right paper, the right printer settings, and the two or three mistakes everyone makes on their first try, home printing looks every bit as polished as a print shop for a fraction of the price.
This guide walks you through the whole process, start to finish, with exact specs you can copy.
What you'll need
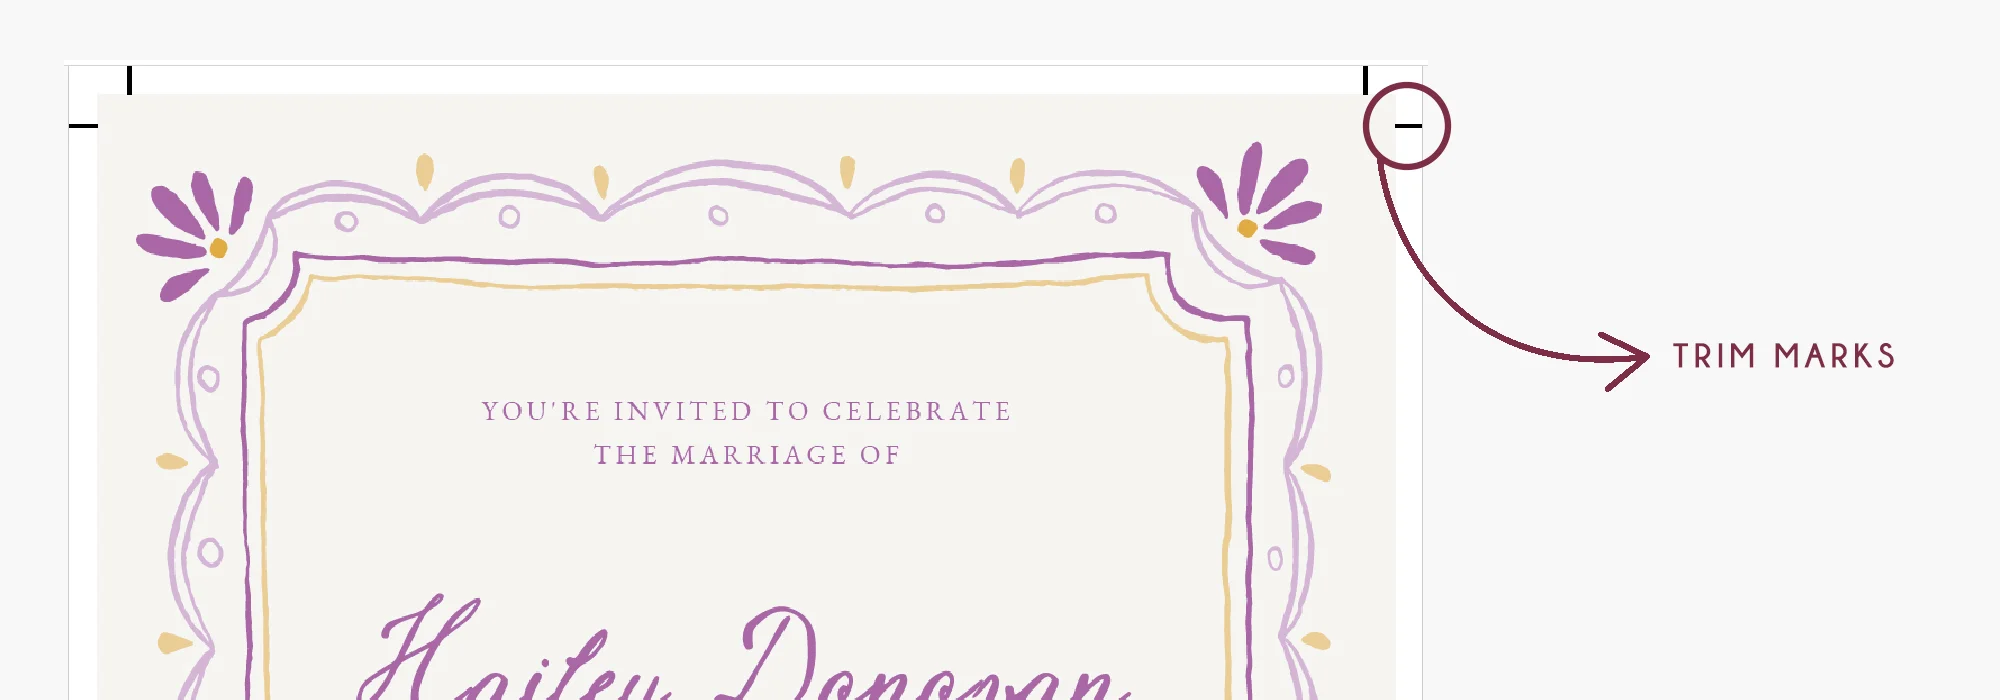
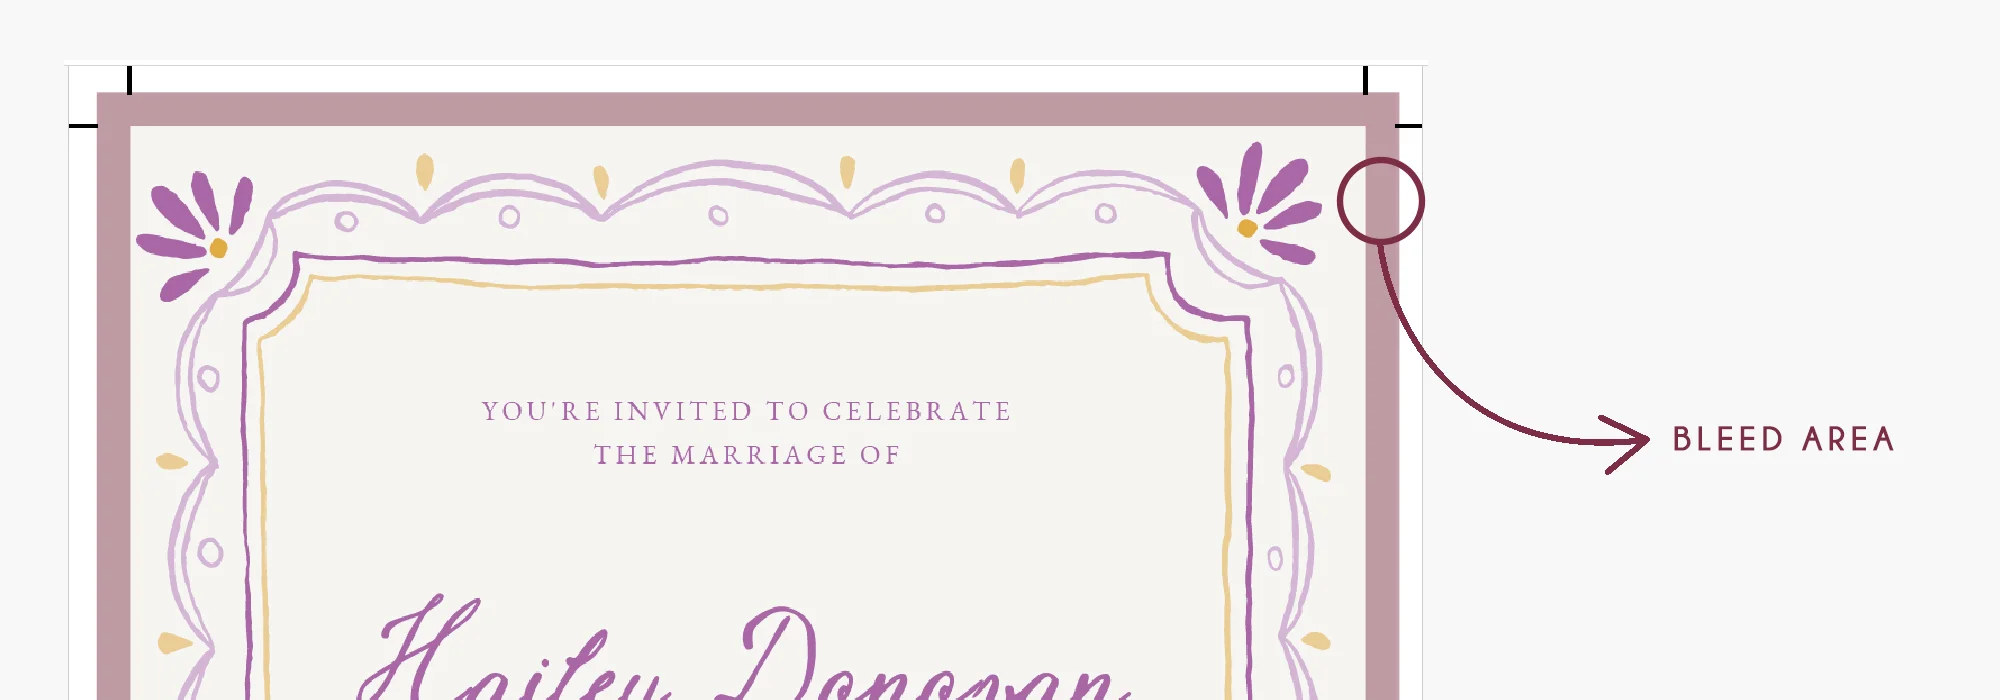
Your print-ready file: a PDF sized to 5" × 7" (the standard invitation size that fits an A7 envelope), with bleed area and trim marks. If you are using Canva to generate your PDF file, click here to see how to enable this setting.
Cardstock: 80 lb to 110 lb cover weight (216–300 gsm). More on this below.
An inkjet or laser printer: that can handle heavier paper (most home printers can, check for a rear or manual feed tray)
A paper trimmer, plus a bone folder or ruler for clean handling
A7 envelopes (5.25" × 7.25")
Step 1: Choose the right cardstock
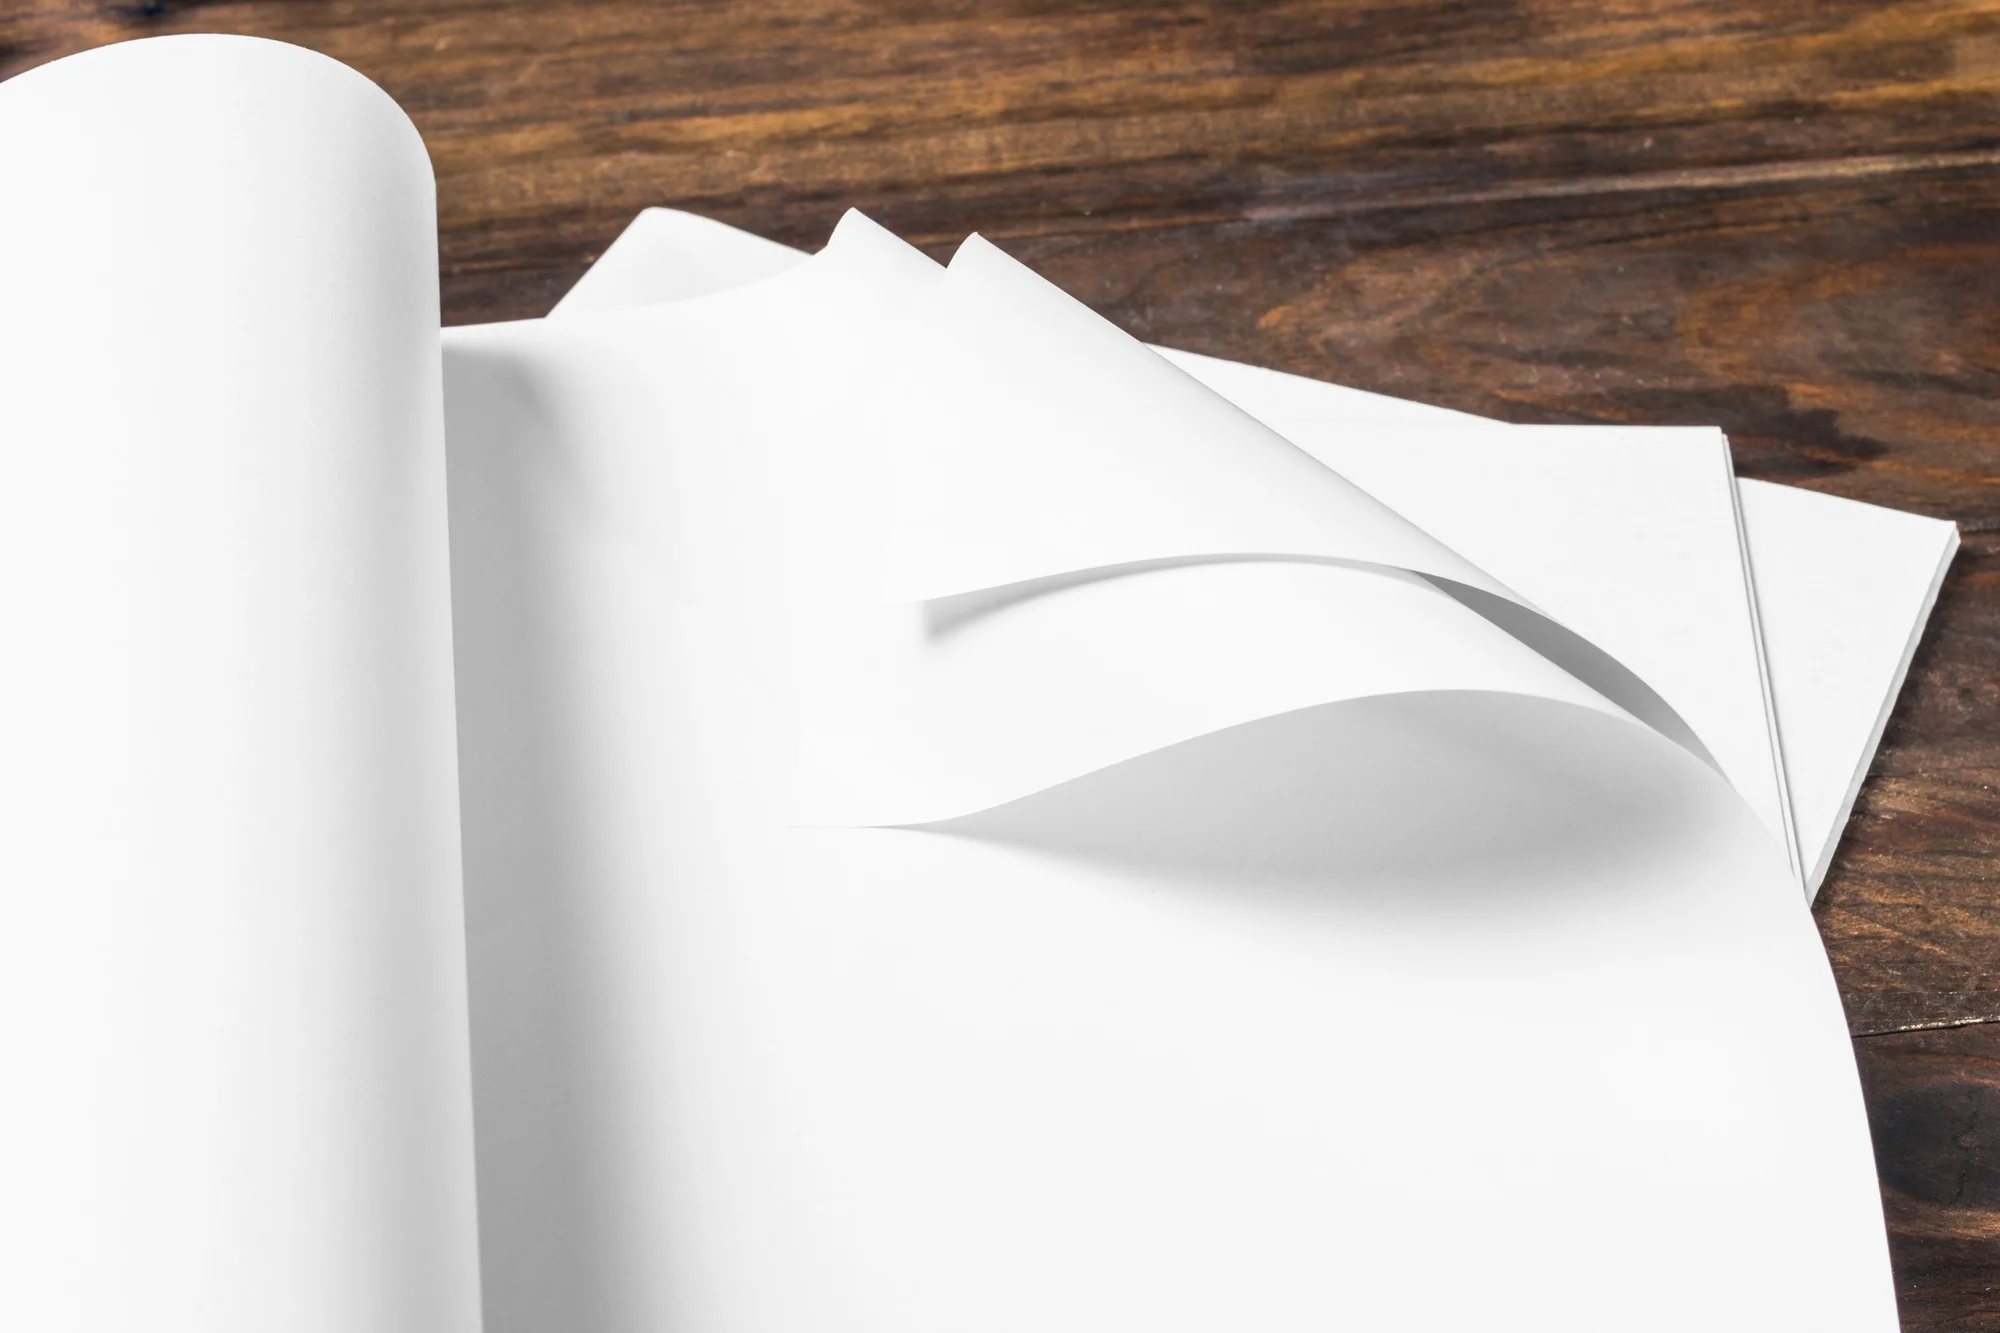
This is the decision that makes or breaks the "does it feel professional?" test. Regular printer paper (20 lb) will read as flimsy no matter how pretty the design is.
80 lb cover (216 gsm): the sweet spot for most home printers. Substantial in the hand, feeds reliably.
100–110 lb cover (270–300 gsm): luxe, stationer-grade thickness (but check your printer's maximum paper weight first. Many home inkjets jam above 250 gsm through the standard tray).
Finish: matte or "smooth" cardstock is the safest for home printing. Glossy and heavily textured papers (linen, felt) can cause ink smudging or patchy coverage on inkjets.
Color: bright white makes colors pop; natural/cream is softer and more romantic. Order a sample pack before committing, it costs a few dollars and saves a ruined batch.
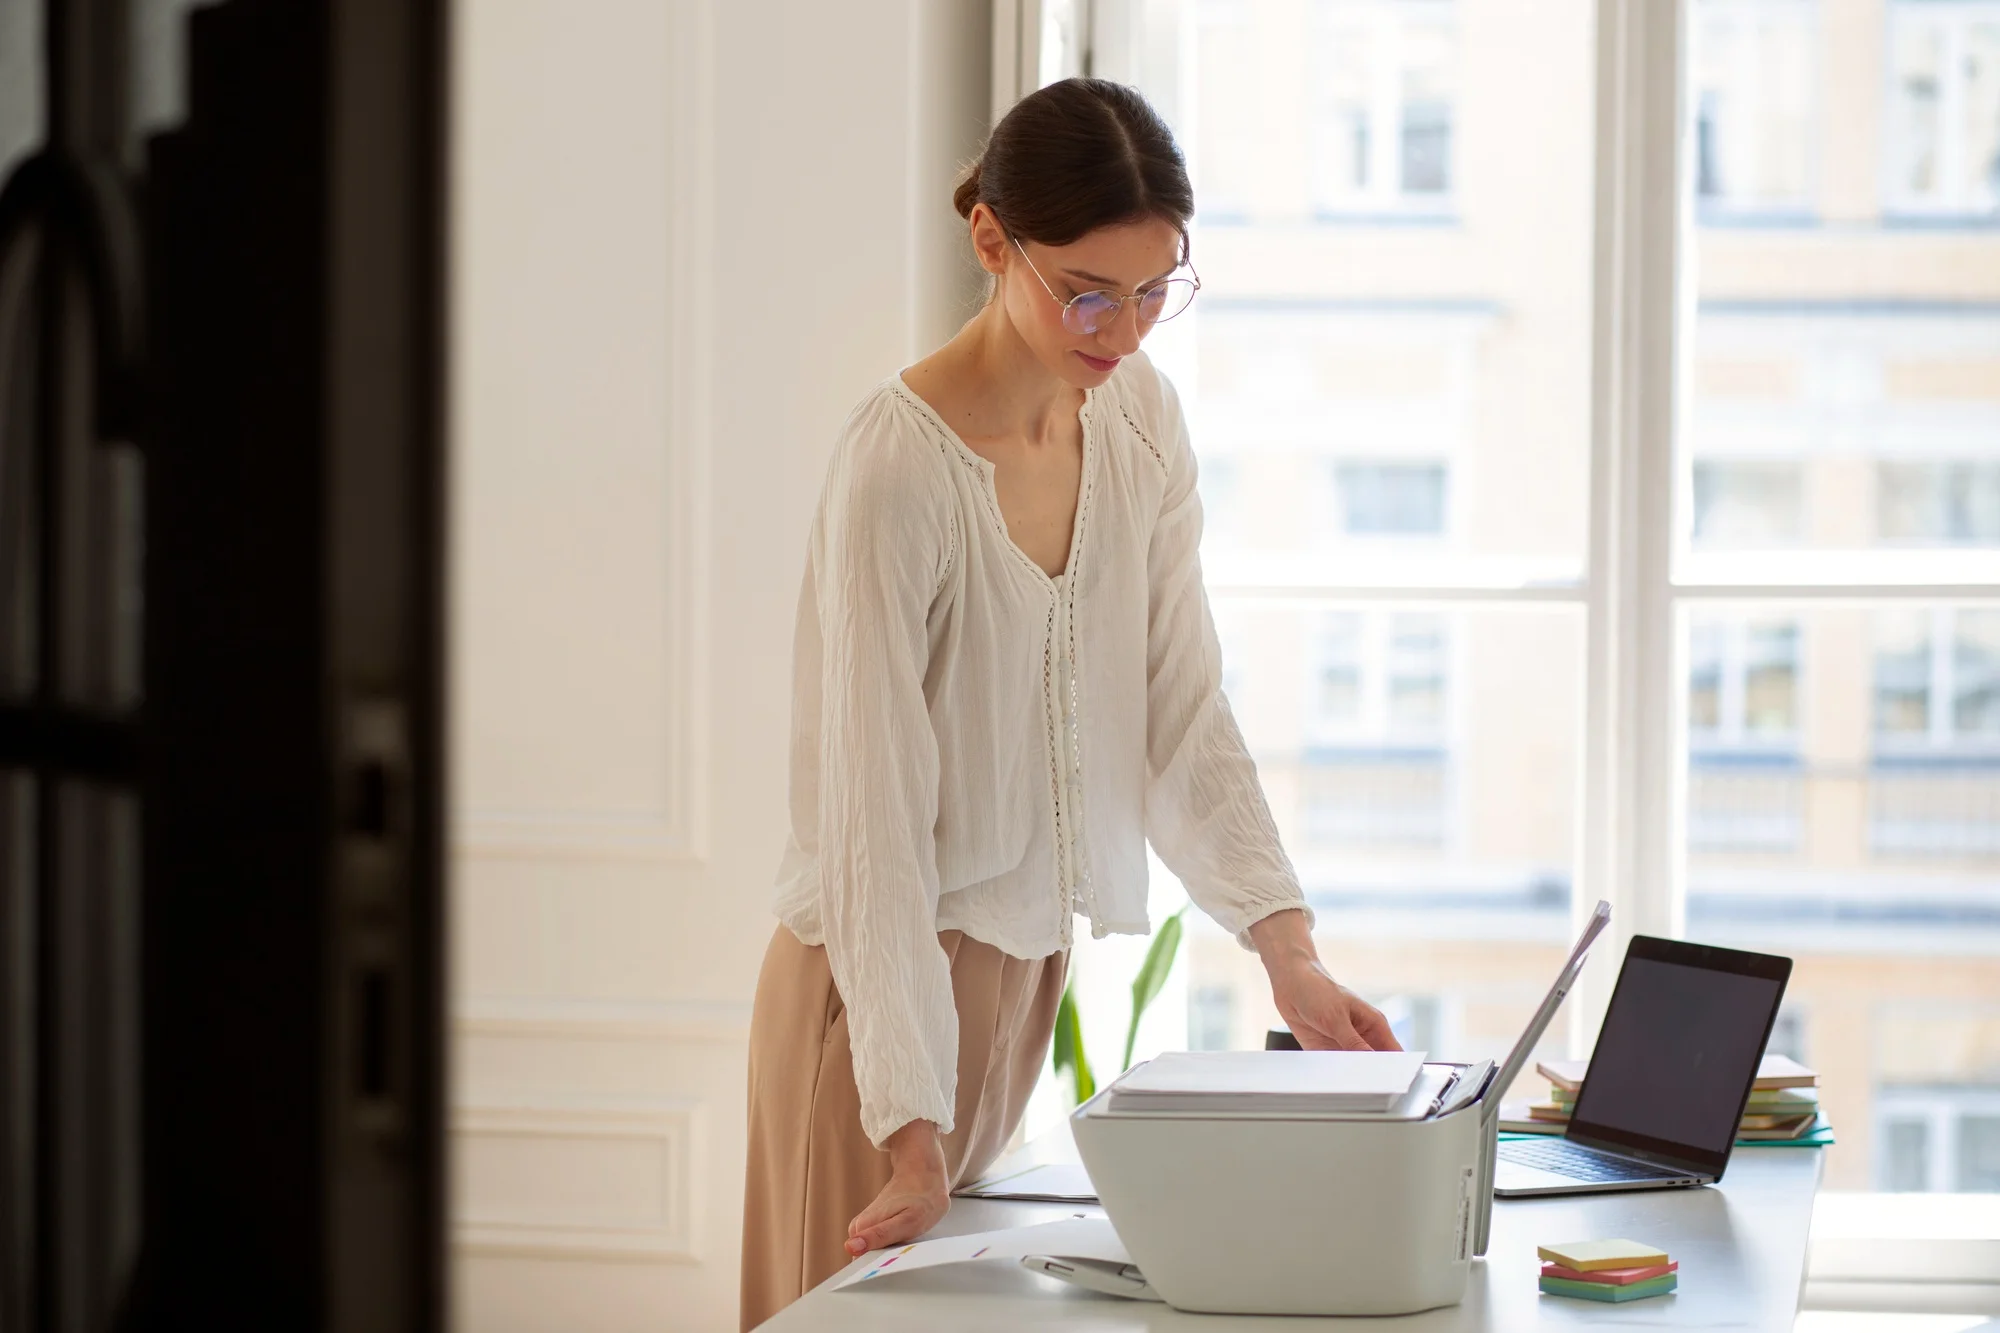
Step 2: Get your printer settings right
Open your PDF (Adobe Acrobat's free reader is more reliable than a browser for this) and set:
Paper type: "Cardstock" or "Heavy paper", this slows the feed and adjusts ink for thicker stock
Quality: "Best" or "High", never draft mode
Scale: "Actual size" or 100%, never "Fit to page," which shrinks your design and throws off the trim lines
Feed tray: use the rear or manual feed if your printer has one; the straighter paper path prevents jams and curling on heavy stock
Step 3: Always print a test page
Print one invitation on plain paper first. Check that nothing is cut off, the text is crisp at arm's length, and the size matches your envelope. Then print one on your actual cardstock and let it dry for a full minute before touching it. If everything looks good, then run the batch.
Printing all 75/100/200 invitations before checking one is the single most expensive mistake in DIY stationery.
Step 4: Print in small batches
Feed 5-10 sheets at a time rather than loading the whole stack. Heavy cardstock is more likely to grab a second sheet or jam in bulk, and small batches let you catch an ink cartridge running low before it fades across twenty invitations. Let each batch dry flat for a few minutes before stacking.
Step 5: Trim and assemble
If your template prints two invitations per 8.5" × 11" sheet, use a guillotine or rotary paper trimmer for straight, clean edges, scissors will show every wobble. Line up the crop marks, cut once, and don't saw back and forth.
Handle finished cards by the edges (fingerprints show on matte cardstock), and you're ready to stuff envelopes.
Common mistakes to avoid
Skipping the test print: see step 3. Always.
Using "Fit to page": your 5×7" becomes a 4.8×6.7" with uneven margins.
Printing on the wrong side: most cardstock has a slightly smoother printing side; check the packaging.
Ignoring ink levels: color shifts subtly as cartridges empty. Start a batch with fresh or near-full ink.
Stacking prints immediately: inkjet ink on cardstock needs a minute or two to set, or you'll get ghost smudges on the backs.
Home printing vs. a print shop: quick math
Printing at home typically costs $0.30–$0.60 per invitation (cardstock plus ink) versus $1.50–$3.00+ per piece at a print shop, and you control the timeline completely. If your printer fights you on heavy stock, a hybrid approach works too: bring your print-ready PDF to a local shop or upload it to an online printer, and you still skip the biggest cost: the $300–$500+ custom design fee.
Start with a file that's built to print
Half of DIY printing problems trace back to the file, not the printer: wrong dimensions, missing bleed, low-resolution graphics. Our editable wedding invitation templates are print-ready PDFs sized exactly for standard cardstock. Customize your wording in Canva, download, and print with the settings above.
Before you print, make sure your wording is final (our wedding invitation wording guide has copy-and-paste examples for every hosting situation). And once your invitations are printed, check the stationery timeline so they go out right on schedule.